


What Crawl Space Encapsulation Supplies Do I Need?
When it comes to home improvement projects, your home’s crawl space is probably the last thing on your mind. However, this space can harbor moisture, mold, pests, and harmful radon gas. Crawl space encapsulation is an effective way to address these issues and prevent them from impacting your living space.
If you’ve read about the harmful health impacts of radon and have noticed a musty odor in your home, it might be time to act. You have the option of hiring a professional or completing encapsulation yourself.
For confident DIYers ready to tackle this project, the first question is likely, “What crawl space encapsulation supplies do I need?” You’ve come to the right place! Our comprehensive guide will walk you through everything you need to create an effective encapsulation system for your crawl space, with clear, step-by-step guidance.
Understanding Crawl Space Encapsulation
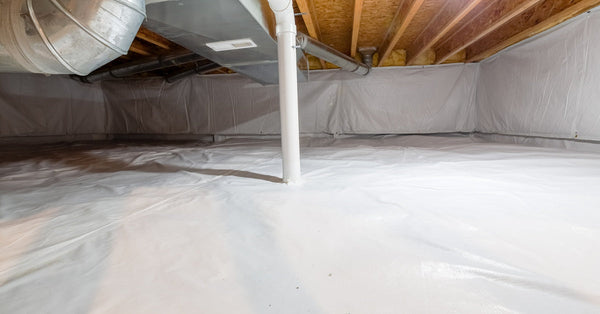
Before we get into the supplies you need, let’s quickly explore what crawl space encapsulation entails. Crawl space encapsulation involves sealing off the floor and walls of a crawl space with a vapor barrier and insulating materials. Doing so creates a dry, clean, and controlled environment.
The benefits of crawl space encapsulation are multiple. You can prevent the buildup of harmful radon gas inside your home, most importantly. Sealing off entry points also keeps out pests and rodents. Plus, moisture control reduces the risk of mold, odors, and wood rot caused by excess humidity.
Proper encapsulation also improves energy efficiency and can maintain better indoor air quality. For homeowners, it’s clear why investing in your crawl space adds long-term value to your property.
Essential Crawl Space Encapsulation Supplies
When asking, “What crawlspace encapsulation supplies do I need?” there are a handful of must-haves that every project requires. Here’s a detailed breakdown:
Vapor Barrier
- Why it’s important: The vapor barrier is a type of heavy-duty fabric that’s coated in polyethylene, a kind of plastic. This barrier blocks moisture from the soil or external environment from entering your home.
- Types available: Vapor barriers come in varying thicknesses, measured in millimeter thickness (MIL). The two most common options are 6 MIL (thinner, more affordable) and 12 MIL (thicker, more durable, and puncture-resistant).
- How to choose: Go with 12 MIL for thorough protection, especially in high-moisture areas.
Seam Tape
- Purpose: Seam tape is used to seal the overlapping sections of a vapor barrier for complete protection.
- Types: Choose a durable adhesive tape designed specifically for vapor barriers. Some brands even offer UV-resistant options for areas that are exposed to sunlight.
- Tips for application: Clean and dry the surface for maximum adhesion before applying seal tape.
Fasteners
- Why they’re needed: Fasteners secure the vapor barrier to your crawl space walls for long-term stability.
- Types available: Options include plastic anchors, masonry screws, or adhesive strips.
- How to choose: Choose fasteners compatible with your foundation material (such as brick, concrete, or wood).

Insulation
- Benefits: Insulating the ceiling of the crawl space improves temperature regulation and reduces energy costs.
- Types available: Foam board insulation is highly recommended for crawl spaces because of its moisture resistance and easy application. Batt insulation is another option but may require more upkeep.
- Tip for choosing: The insulation material must have a good R-value for your climate and needs.
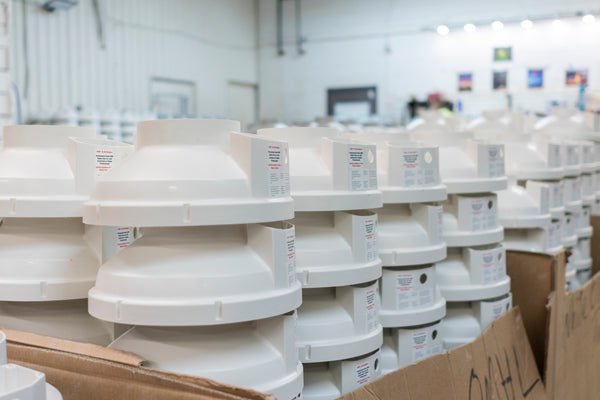
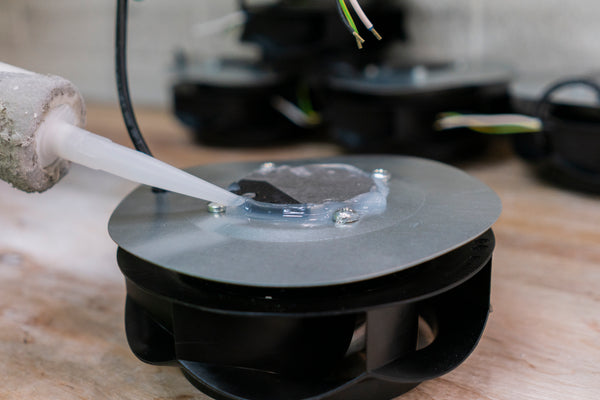
Radon Fan and Vent Pipe
- Function: A radon fan and vent pipe create a vacuum below the vapor barrier to safely vent radon gas out of your home.
- Setup: The PVC vent pipe is installed beneath the vapor barrier and vents outside through the foundation wall. The radon fan is attached to the pipe to create the vacuum.
Dehumidifier (Optional)
- When it’s needed: If your crawl space regularly experiences high humidity, consider adding a dehumidifier to keep moisture levels in check.
- Types of dehumidifiers: Choose from desiccant-based or refrigerant dehumidifiers, depending on your crawl space’s size and environment.
- How to choose: Opt for models that include a drainage system to avoid the hassle of manually emptying water tanks.
Sump Pump (Optional)
- Purpose: Essential for crawl spaces prone to flooding, a sump pump efficiently drains water away from your foundation.
- How to choose: Make sure the pump’s capacity matches your needs based on local rainfall and groundwater conditions.
Additional Considerations
Safety Equipment
Encapsulation projects require proper safety precautions. Wear gloves to protect your hands from sharp tools or materials. You should also equip yourself with a mask to avoid inhaling dust or harmful particles. Don’t forget the eye protection, especially when working with fasteners or insulation.
Tools
Grab these tools to make the encapsulation process smooth and efficient:
- Lighting: Strong, portable lights will brighten up dark crawl spaces so you can focus and work.
- Drill: You’ll use your drill for installing fasteners into foundation walls.
- Measuring tape: Accurately measure the vapor barriers and insulation with measuring tape.
- Utility knife: When you need to cut plastic sheeting or insulation neatly, you’ll use a utility knife to do it.

Step-by-Step Crawl Space Encapsulation Installation Guide
Now that you know what crawl space encapsulation materials to use, here’s how to bring it all together!
1. Preparation
- Clear debris, dirt, and old materials from your crawl space.
- Level the floor using a rake or shovel for an even surface.
2. Sealing Gaps and Cracks
Fill openings, such as gaps in foundation walls or spaces around pipes, with sealant or foam to create an airtight barrier.
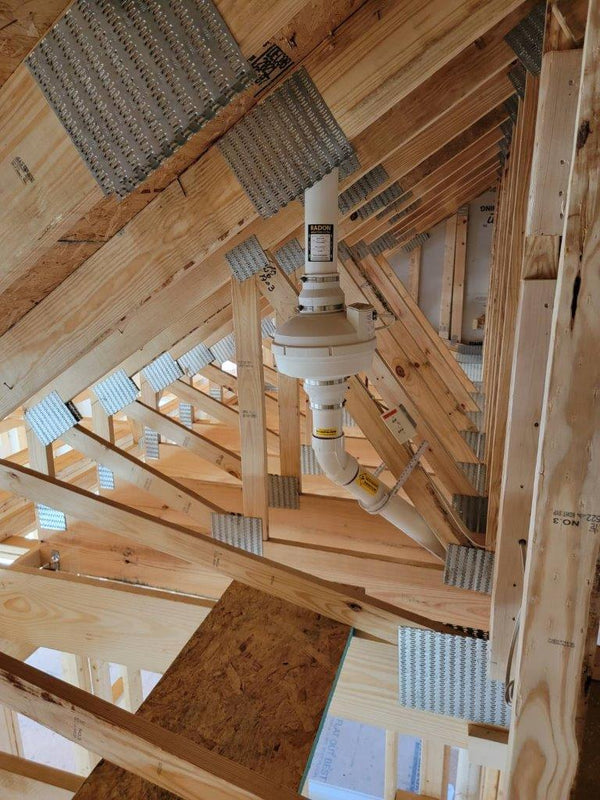
3. Installing the PVC Vent Pipe and Radon Fan
Install the PVC pipe so it penetrates the crawl space floor and directs radon gas outdoors. Attach the radon fan securely to the piping for efficient air movement.
4. Vapor Barrier Installation
Attach the vapor barrier to the crawl space walls, then cut the barrier to fit around the radon piping or support beams. Lay the material on the floor last, creating an overlap between the sheets. Seal them with seam tape.
5. Dehumidifier Installation (Optional)
Position the dehumidifier in an easily accessible space. Create proper drainage by connecting the dehumidifier to a hose that leads to a floor drain.
Crawl Space Encapsulation Maintenance Tips
Keep your crawl space in top condition with regular check-ups:
- Inspect for damage or moisture in the vapor barrier every few months.
- Test the radon fan and monitor radon levels with a home test kit or a continuous radon monitor.
- Clean your dehumidifier’s filters and tank (if applicable).
DIY vs. Professional Installation
While taking on crawl space encapsulation yourself can save money upfront, it requires time, effort, and precision. If you’re unsure about tackling a project of this size and scope, consult a professional contractor who specializes in crawl space systems. Professionals come equipped with experience and guarantee lasting results.
For minor repair work or simpler crawl spaces with no flooding issues, however, a well-prepared homeowner can definitely handle encapsulation!
Preparing for a Crawl Space Encapsulation Project
Crawl space encapsulation is more than just a home improvement project; it’s an investment into the safety, energy efficiency, and lifespan of your home. By understanding the supplies you need, you’re one step closer to creating a cleaner, healthier environment for your family.
Whether you’re a DIY enthusiast or prefer hiring a pro, the right materials and a little know-how can make all the difference. If you’re ready to fortify your crawl space, gather these essentials, follow our steps, and enjoy a safer home!