
Radon Mitigation System Troubleshooting Guide
Radon, a colorless and odorless radioactive gas, is a silent threat to homeowners. It naturally seeps through the soil, foundational cracks, and gaps in construction joints, potentially accumulating to hazardous levels indoors. Prolonged exposure to radon increases the risk of lung cancer, making it a serious threat to your family’s health.
A well-functioning radon mitigation system is a homeowner’s best defense against elevated radon levels. However, like any home system, radon mitigation requires proper maintenance and occasional troubleshooting to function effectively.
This radon mitigation system troubleshooting guide will walk you through the basics of how these systems work, how to identify potential problems, and what maintenance or professional intervention may be required to keep your home safe.
Understanding Radon Mitigation Systems
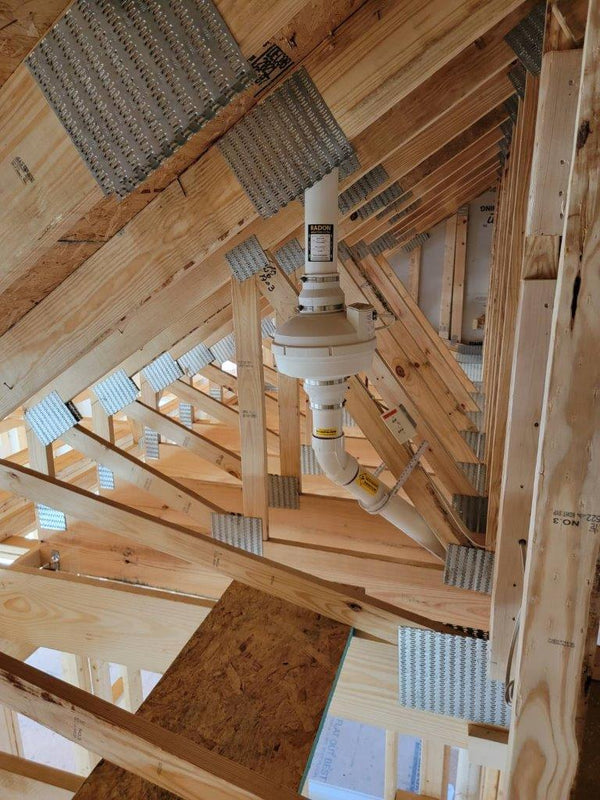
A radon mitigation system actively reduces the concentration of radon gas in your home, protecting your family’s health. But how exactly does it work? The most common radon mitigation systems rely on a process called sub-slab depressurization.
Here’s an overview. A system of pipes is installed beneath your home, leading to a radon fan. This specialized fan creates a field of negative pressure below the foundation slab, which prevents radon from coming through the foundation. It’s a common misconception that radon mitigation systems merely exhaust radon outside; however, this system actually keeps radon from entering your home in the first place.
Besides sub-slab depressurization, your home might also rely on the following options to reduce radon to safe levels:
- Crawl space mitigation systems: For homes built over crawl spaces, depressurizing the space by sealing and venting it is effective. These systems rely on a plastic vapor barrier to seal the crawl space and prevent radon from entering your home. A PVC pipe is installed below the barrier, and a radon fan vents the air outside.
- Passive systems: Found in some new construction homes, these systems are similar to active sub-slab depressurization, except they don’t use an electric radon fan. Instead, they rely on natural air currents to vent radon.
Understanding your system type is key to knowing how to maintain it and troubleshoot potential issues effectively.

Signs Your Radon Mitigation System Needs Attention
Even if your system was professionally installed, regular monitoring is necessary to help it remain functional over the years. Here are some common warning signs that your radon mitigation system may need attention.
1. Unusual Noises From the Radon Fan
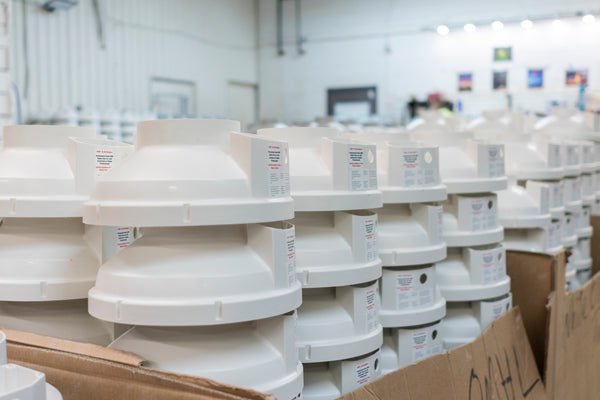
Radon blower fans play a critical role in active mitigation systems. If you hear strange noises, such as rattling or grinding, these sounds can indicate that the bearings inside the fan have gone bad. If that’s the case, it’s time to replace your radon fan.
2. Changes in the Manometer Reading
The manometer or U-tube is a pressure gauge that’s installed on the system’s PVC pipe, usually in the basement or attic. It’s essential for monitoring the fan’s performance. When the fan runs, the fluid level should be higher on one side. This reading indicates that the fan is creating suction and working correctly. If the fluid level is even on both sides, that likely means the fan is no longer running.
3. Elevated Radon Levels Indoors
If radon levels in your home have begun to climb again, this is an obvious red flag. The Environmental Protection Agency (EPA) recommends action if your indoor radon levels exceed 4 pCi/L or picocuries per liter.
Be vigilant with annual radon testing or use a continuous radon monitor, even if your system appears to work fine. Address issues to maintain your system’s functionality and preserve a safe living environment.
DIY Troubleshooting for Common Issues
Before reaching out to a professional, there are a few steps homeowners can take to troubleshoot common radon system issues. Here’s a quick guide to maintaining and inspecting your radon mitigation system.
Step 1: Inspect Your System’s Components
Start by visually examining the PVC pipes and joints for cracks, loose connections, or other signs of wear. Run your hand along the pipes to feel for airflow, or use a smoke test to check for leaks. Any visible damage could compromise the system’s ability to create suction and vent radon gas. Use sealant to patch up small cracks as a temporary fix.
Step 2: Check the Manometer
Take a close look at the pressure reading on your manometer. If it’s outside the normal range specified during installation, record the reading. It may also be an issue with the manometer itself, so first verify that it’s properly connected. Sometimes, if a manometer gets bumped or dislodged, it can give a false pressure reading.
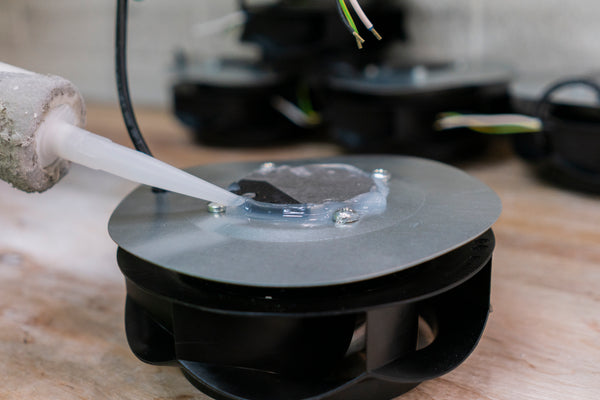
Step 3: Inspect the Blower Fan
The radon blower fan is what powers active radon mitigation systems. Inspect it for debris or visible damage. Unusual vibrations or loud noises may indicate that the fan is nearing the end of its lifespan.
Always ensure that the fan’s power supply is securely connected. If the fan completely stops working, check your home’s circuit breaker or plug the fan into another outlet.

When To Call a Professional
Some radon mitigation problems go beyond what DIY troubleshooting can resolve. Professional radon contractors have the expertise and equipment necessary for effective repairs and system optimization.
Indicators Your System Needs Professional Help
- Persistent high radon levels: If your radon monitor continues to report elevated levels after your troubleshooting efforts, it’s essential to involve a professional.
- Fan or electrical malfunctions: If your radon blower fan has stopped working altogether or if electrical components appear faulty, call a professional. They can diagnose and resolve complex issues.
- Comprehensive leak detection: Some system leaks are hard to detect without professional tools. An expert radon contractor can perform pressure tests and advanced diagnostics to locate and repair leaks effectively.
A Well-Maintained System Provides Peace of Mind
Radon mitigation systems are an essential strategy for protecting your family’s health. By understanding how these systems work, recognizing the warning signs of potential issues, and conducting regular DIY maintenance, you can promote long-term functionality.
However, not every problem can be solved on your own. Knowing when to enlist professional help is just as important. Use this radon mitigation system troubleshooting guide to identify issues and decide whether you need help from a professional.