How To Install a Radon Mitigation System in a Crawl Space
Radon might not be on every homeowner’s radar, but it’s a serious health risk that deserves attention. Invisible and odorless, radon can enter homes through cracks in the foundation. It’s linked to lung cancer and is one of the leading causes of the disease in nonsmokers.
If your home has a crawl space, you’re particularly at risk of radon buildup due to its direct exposure to the ground. Setting up a radon mitigation system can drastically reduce radon levels in your crawl space and help protect your loved ones from radon’s harmful effects.
This guide will show you how to install a radon mitigation system in a crawl space. From walking you through the step-by-step installation process to showing you how to monitor your system, this article will give you the tools and knowledge you need to tackle this important home improvement project.
Understanding Radon in Crawl Spaces
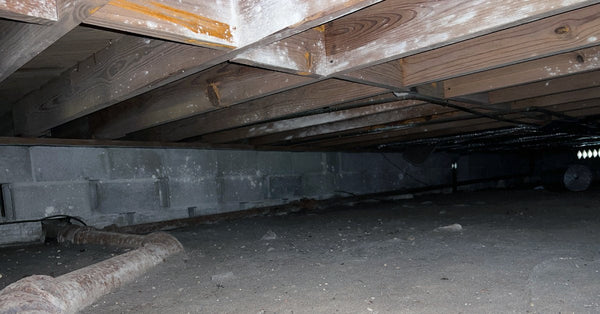
Before jumping into solutions, it’s important to understand why crawl spaces are vulnerable to radon and how it sneaks into your home. A crawl space is a low-clearance area beneath your home, sitting below the flooring supports and within the boundary walls of your foundation. Crawl spaces are often used for minimal storage or utility access for plumbing and wiring systems.
Radon enters homes through the ground. It’s a by-product of uranium decay in soil and rock. As radon breaks down beneath your home, the gas can easily find its way indoors through gaps or other openings. Crawl spaces are particularly problematic because they provide a minimal barrier between the soil and your living areas, which can allow radon to accumulate.
To determine if your crawl space poses a radon risk, you’ll first need to test the radon levels on your property. Radon is measured in picocuries per liter of air (pCi/L). Levels at 4 pCi/L and above are considered hazardous, and it’s strongly advised to take mitigation measures if your home reaches or exceeds this threshold.
You can purchase radon testing kits online or from home improvement stores for less than $20. Many radon specialists also offer testing services, although usually at higher costs.
Preparing for Radon Mitigation System Installation
Before you install a radon mitigation system, start with radon testing to confirm the levels of the gas. For homes with a crawl space but no basement, place a radon test kit in the room directly above your crawl space for the recommended duration (usually 48 hours). If your home has a basement as well as a crawl space, you’ll need to run two tests simultaneously: one in the basement and a second in the room above the crawl space.
Whether you run one test or two, follow the instructions on the test kit and send your results to a lab for analysis. You can also use a digital radon monitor for testing, which will gather readings continuously.
If you’ve determined there’s a need for a mitigation system, assess the condition of your crawl space. You shouldn’t have any structural issues like large cracks or severe damage to the foundation. Clean out stored items that may obstruct installation as well. Since crawl spaces have exposed dirt floors, mitigation typically requires you to install a plastic vapor barrier. That’s why you’ll need to remove debris that could poke holes in the plastic sheet.

How To Install a Radon Mitigation System in a Crawl Space
Now that you’re ready to tackle the problem, follow these detailed steps to install a radon mitigation system in your crawl space.
1. Seal the Crawl Space
Seal all cracks, gaps, and openings using crawl space sealing tools such as caulk or expandable foam. Since your crawl space has an exposed dirt floor, you’ll need to lay down a durable polyethylene vapor barrier across the entire area. Secure the barrier tightly, making sure the seams are taped and properly sealed against the walls. This barrier will prevent radon from rising directly through the ground into your crawl space.
2. Install the PVC Pipe System
Next, install the PVC pipe system to collect radon gas from beneath the vapor barrier. Cut a hole in the barrier, then insert a PVC pipe that extends below the plastic into the soil. This pipe will serve as a pathway for radon gas to exit the ground and enter the venting system.
3. Connect the Ventilation Fan
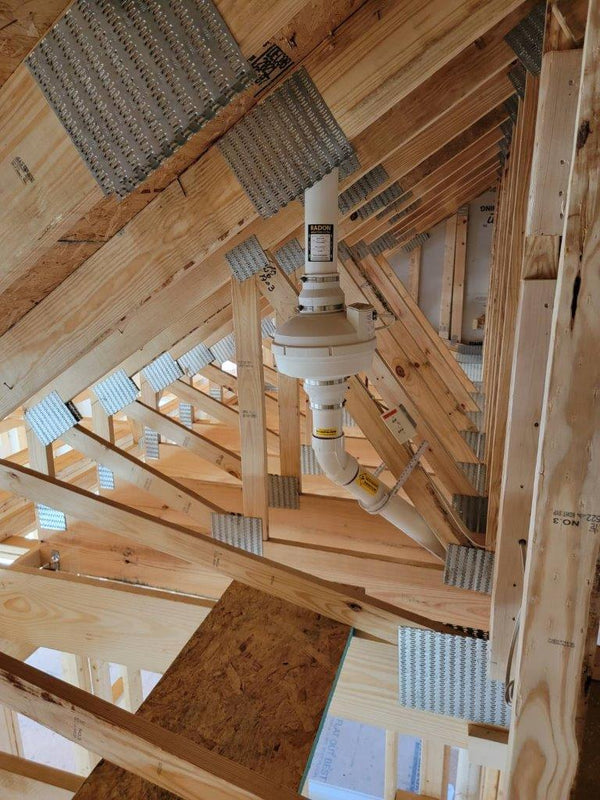
Next, it’s time to decide where to install the ventilation fan, whether indoors or outdoors. In either location, the fan will need an electric supply nearby. If you install the fan outdoors, extend the PVC vent pipe upward through the foundation wall and out of the house. And if you install the fan inside, choose an unoccupied space such as the attic. The PVC vent pipe will extend up through the floor, through the ceiling, and into the attic. You’ll need to cut an opening in the roof for the pipe to vent outside.
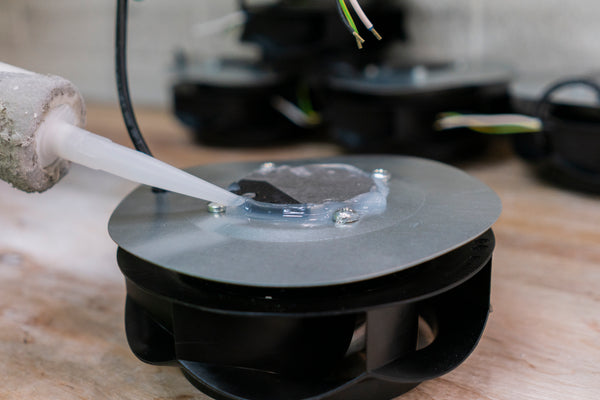
Attach a radon ventilation fan to the top of the PVC vent pipe system. This fan creates a vacuum that pulls radon gas out from beneath the vapor barrier and pushes it outside through the vent pipe. Make sure that the fan is installed in an accessible location, as it may require maintenance or replacement in the future.
4. Install the Exhaust Pipe
Guide the exhaust pipe from the fan to the exterior of your home, ensuring that it meets vent discharge requirements. These include extending the pipe at least 10 feet aboveground, 10 feet away from any windows or doors, and four feet above openings to prevent radon reentry.
5. Seal and Test the System
Once you’ve installed the system, seal the remaining gaps or openings around the PVC piping for maximum efficiency. Conduct a post-installation radon test to verify that the system effectively reduces radon levels below 4 pCi/L. Finally, install a manometer in an easily accessible area of the crawl space. This device measures negative pressure to gauge whether the fan is working.
While this process can be a DIY project for those comfortable with home improvements, it’s always recommended to hire a professional if you’re unsure about any of the installation steps. Certified radon contractors are trained to achieve system efficiency and compliance with safety standards.

Maintenance and Monitoring
Installing a radon mitigation system isn’t a one-and-done deal. Regular maintenance and ongoing monitoring will keep the system operating effectively. Check the system’s fan periodically to make sure it’s running properly, and inspect the vapor barrier for damage or detachment. Conduct radon testing annually or whenever you make major changes to your home, such as after foundation repairs or substantial renovations.
For added peace of mind, consider investing in a continuous radon monitor. These devices allow you to track radon levels in real time, giving you instant insight into whether your system is performing as it should.
Protect Your Home With a Radon Mitigation System
Understanding radon and taking proactive steps to reduce its levels in your home mean investing in your family’s health and safety. Crawl spaces are a vulnerable entry point for radon gas, but learning how to install a radon mitigation system in a crawl space can help you take control of this invisible threat. If DIY isn’t for you, reach out to a certified radon contractor so the job gets done right. Don’t wait—prioritize your home’s safety today.


