


A Beginner’s Guide to Radon Caulk and Sealant
Welcome to a beginner’s guide to radon caulk and sealant! If you’re a homeowner or DIY enthusiast, ensuring your home is safe and healthy is likely a top priority. One invisible but serious threat many people overlook is radon, a naturally occurring gas that can enter your home through cracks. With the right caulking and sealing techniques, you can significantly reduce radon levels in your home.
This guide will walk you through everything you need to know, from understanding radon to applying radon-specific caulk and sealants effectively. By the end, you’ll feel confident in protecting your home and loved ones from this hidden hazard.
What Is Radon?
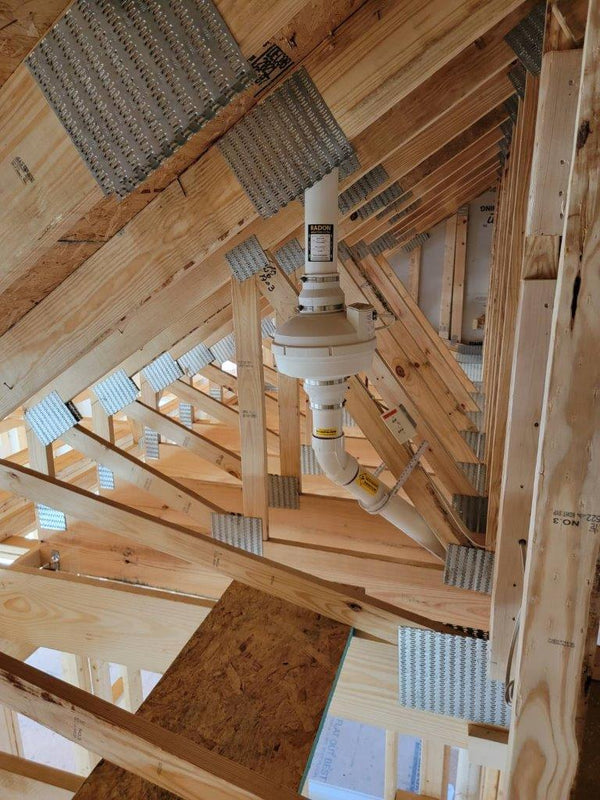
Radon is an odorless gas that forms when soil and rock break down. While radon exists in outdoor air at low levels, it becomes a concern when it accumulates in our homes. This typically happens when radon seeps in through cracks in the foundation and gaps around pipes or basement windows.
The real danger of radon lies in long-term exposure. Over time, it can lead to serious respiratory issues. High radon levels can affect any home, new or old, regardless of the location. Knowing this, it’s clear why homeowners need to take proactive steps to prevent radon intrusion.
Why Use Radon Caulk and Sealant?
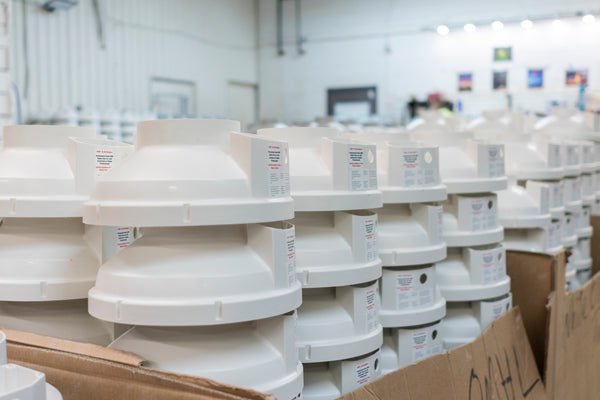
One effective way to prevent this dangerous gas from entering your home is to seal the potential radon entry points in the basement.
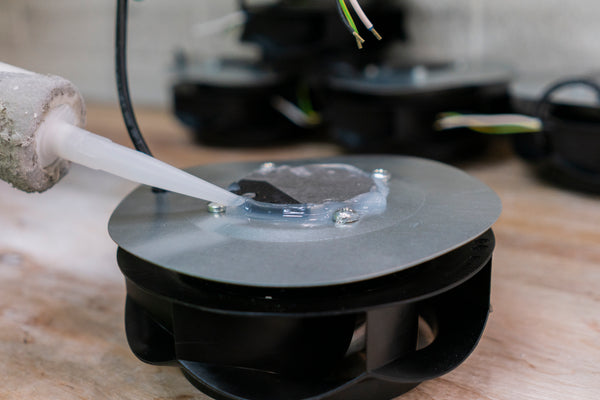
Specialized radon-resistant caulk and sealants provide a tight, durable seal that standard products might fail to deliver. These products block not just air but also radon, ensuring long-term safety. Additionally, closing up these pathways can improve energy efficiency by preventing drafts and heat loss!
Whether you’re sealing the joints in your basement or filling gaps around the plumbing, using radon-specific caulk ensures you address two concerns in one go!

Types of Radon Caulk and Sealant
When choosing the right caulk or concrete basement sealer for radon mitigation, you’ll typically encounter four main materials:
1. Polyurethane Caulk
Best for: Exterior and interior cracks in foundations that experience movement.
Pros
- Excellent adhesion to concrete and masonry.
- Durable and weather-resistant.
- Remains flexible.
Cons
- Higher cost compared to other sealing options.
- Takes longer to cure.
- Requires precision during application due to its strong bonding properties.
2. Silicone Acrylic Caulk
Best for: Interior cracks in basements or crawl spaces, especially in areas with high moisture levels.
Pros
- Highly flexible and effective for sealing cracks that may shift or expand over time.
- Excellent moisture resistance.
- Long-lasting with minimal maintenance needed.
Cons
- Often not paintable.
- Slightly more expensive than other caulk types.
3. Acrylic Latex Caulk
Best for: Small interior cracks and gaps around windows, doors, or walls that could allow radon entry.
Pros
- Easy to apply and clean with water.
- Paintable, ensuring seamless integration in finished spaces.
- Affordable and widely available.
Cons
- Less durable than silicone or polyurethane.
- Not suitable for wet or exterior areas exposed to weather.
- Limited effectiveness for long-term radon mitigation.
4. Butyl Rubber Sealant
Best for: Adhering vapor barriers to basement walls during crawl space encapsulation.
Pros:
- Strong adhesion to materials like concrete, metal, and other surfaces.
- Remains flexible over time, accommodating joint movement.
Cons
- Messy and difficult to apply.
- Longer curing time.
For radon mitigation, choosing the right caulk depends on the application area. Polyurethane and silicone are often favored for their flexibility and durability, while acrylic offers ease of use for small indoor gaps. Many experts recommend a hybrid caulk, such as Geocel 4600, that combines flexibility and ease of use with strong, long-lasting seals.
Tools and Materials You’ll Need
Before you get started, gather everything you’ll need for the job. Having the right tools ensures a smoother application and better results.
Materials
- Radon-specific caulk or sealant (polyurethane, acrylic latex, silicone, or hybrid)
- Backer rods (for larger gaps)
Tools
- Caulking gun
- Utility knife
- Wire brush
- Cleaning cloths
- Mask and gloves for safety
Once you’ve got your materials ready, you’re all set for the next step.
Step-by-Step Guide to Applying Radon Caulk and Sealant
Follow these steps to effectively seal cracks and gaps in your home:
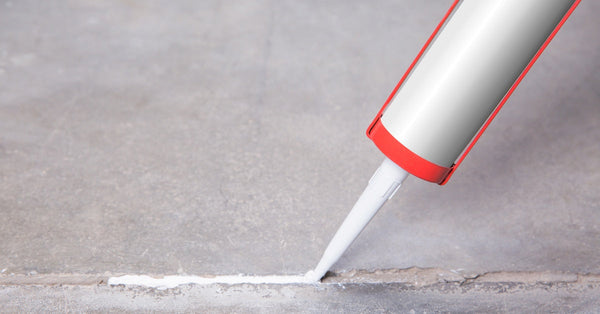
- Inspect your home’s foundation walls in the basement or crawl space. Look for visible cracks or gaps in the concrete, as well as holes around pipe entries and utility openings.
- Use a wire brush to remove dirt, debris, and loose particles from the area. Wipe the surface clean with a damp cloth and ensure no dust remains.
- For gaps wider than 1/4 inch, insert a backer rod first. This will provide support and help the caulk adhere better.
- Load your chosen product into a caulking gun. Smoothly run the bead of caulk along the crack. Use a caulk finishing tool to spread and seal the caulk evenly.
- Follow the instructions on the product’s label for curing time. Allow the caulk to set fully before exposing the area to moisture or handling it.
- Once cured, check for any missed spots or shallow areas. Reapply as needed for a complete seal.

Safety Precautions
Because caulking involves prolonged exposure to chemical products, prioritize safety during the process.
- If possible, open a window to make sure the space is well-ventilated while working.
- Always wear gloves and a mask to avoid direct contact with the sealant.
- Strictly adhere to the manufacturer’s guidelines for any caulking product you use.
Maintenance Tips
Sealing cracks is not a one-time job. Proper maintenance ensures long-term protection against radon. Here are some tips to keep in mind:
- Check sealed areas annually for signs of wear or cracking.
- If any gaps appear, reapply caulking or sealant immediately.
- Install a dehumidifier in areas prone to humidity to protect seals from degrading faster.
- Periodically test your home’s radon levels to ensure your mitigation efforts are working effectively. You can also invest in a continuous radon monitor, such as the EcoBlu or EcoQube, for added peace of mind.
Protect Your Home With Radon Caulk and Sealant
Ensuring your home is safe from radon doesn’t have to feel overwhelming. With a beginner’s guide to radon caulk and sealant, we’ve given you the steps, tools, and tips you need to take effective action. By sealing entry points and maintaining these protective measures, you can create a healthier living environment for years to come.